This might only be an issue for the older generation because we grew up needing to follow written directions. Well, we girls did anyway. I’m not certain how early-on boys abandon the written word in favor of plunging in ill-informed.
It’s the male abhorrence of advice that seems to have been passed down through the generations. Have you noticed how poorly-written instructions are the order of the day? When I still worked, I was appalled by tutorials composed by so-called experts that were more detrimental than unhelpful. I’ve decided there’s a definite skill to writing directions, even if that skill is only the ability to objectively review one’s own work product.
At first, I thought it was rude when some tech-savvy youngster took control of my cell phone (or laptop, notepad or computer keyboard) and simply made whatever correction or change I required. But I’ve come to believe the modern-day human is not capable of articulating directions any better than they are at writing them. No wonder YouTube videos are so popular. No need to explain or verbalize, just “Do as I do” with a bit of commentary. I can’t help but think we’re abandoning some logical part of our brains that might actually come in handy someday.
Another pet peeve is that once I master some skill, like signing off my iPod, they do an update and everything is jumbled up. Is this some sinister method to rot our brains? It certainly plays into the “jump off the cliff” abandonment of logic.
I was amused by the instructions in a card shuffler we were recently gifted—old hands have a hard time shuffling three decks of cards. “If you are unhappy, we will do a better job next time.” Was this some Chinese custom of goodwill or an attempt to entice me to buy a new, improved model with more accurate directions?
Back in the day, I sewed craft items and sold them at boutiques. Probably my favorite patterns were by a company named Patch Press. Their instructions were complete, logical and fun; hand-written in crazy blue script. With Patch Press as my role model, I was inspired to share directions for a craft project I recently imagined.
See this cutie here?
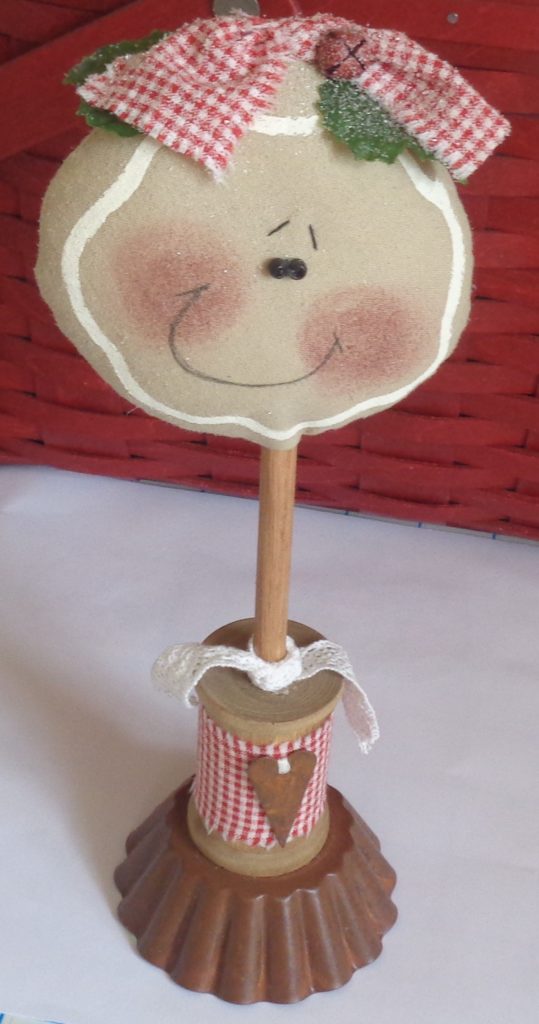
No, I’m not getting ready for next Christmas quite yet—although that’s not a bad idea. I love gingerbread people. During the holidays, my entire kitchen is devoted to them. She is a belated gift from my dear friend, fellow crafter and quilter, Betty. Finding myself with a free stay-at-home day, I was inspired to construct a Valentine’s project. So here goes, with pictures meant to add clarity but without videos. Be sure to read all directions before you begin.
Of course, I had to start my project with a trip to the store for needed supplies. Yes, I confess, I went to Hobby Lobby for the second time this week. I couldn’t find the charming little fluted tins for the base but I did find votive holders that would serve the same purpose. And they were on sale! I also needed wooden spools and a dowel (cut here in four random lengths) that would fit in the spool holes.


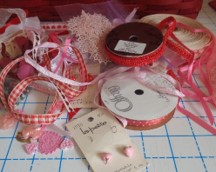
It was fun to hunt through my stash of leftovers—tiny pieces of lace, ribbon and trim, scraps of fabric such as leftover jelly roll pieces, random beads, buttons and jewelry findings—so I could experiment with my design.

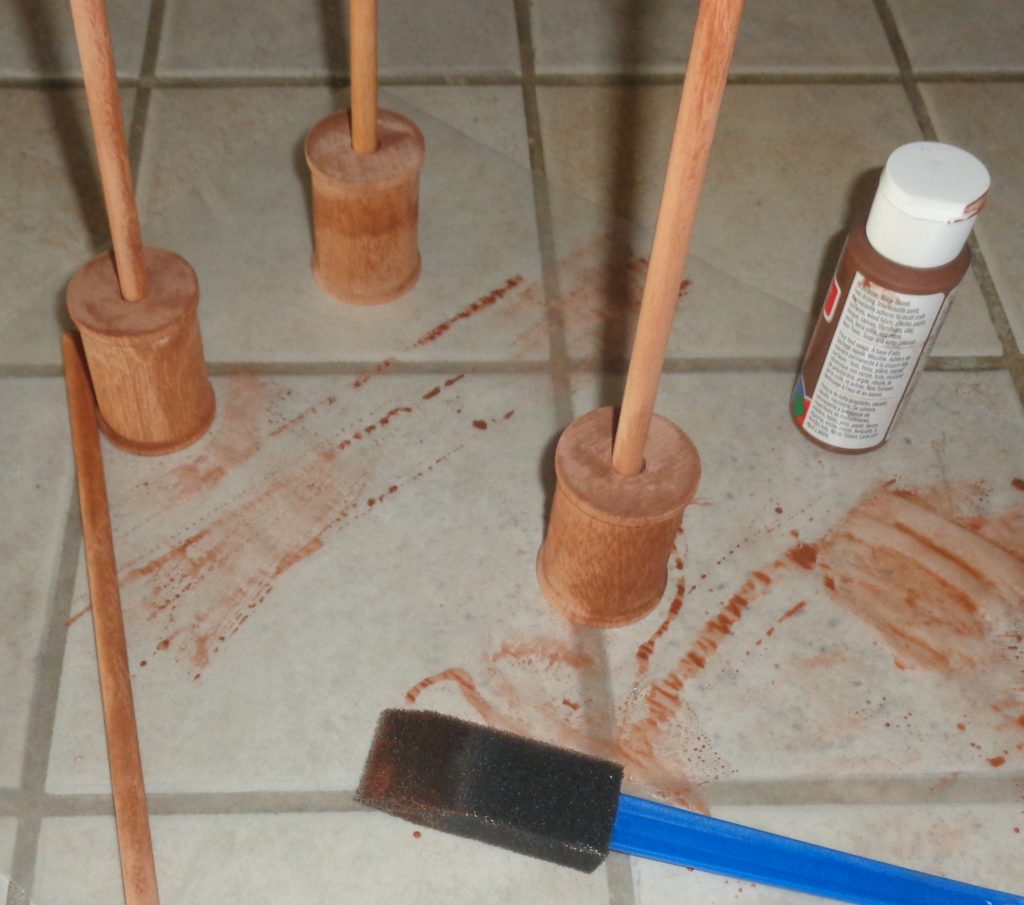
I used watered-down brown craft paint on the wood pieces in order to eliminate their raw wood look. Watered-down is craftspeak for “dries quickly.” It doesn’t even matter if you paint the wood evenly, most of it won’t show.
Next, I conjured grammar school days to cut hearts from folded paper and used them as a pattern to cut two fabric pieces from scraps of pink and red cotton. Cut off the bottom of each heart so there’s an opening about an inch wide. Cut one piece of batting for each heart.


After layering a heart on top of its piece of batting, experiment with trims and sew them on. Go ahead and bedazzle your heart, being sure not to intrude on the ¼-inch seam allowance. Use buttons, beads, glitter, whatever floats your boat. Go as crazy as you like. In the end, I chose to be conservative with my embellishments.
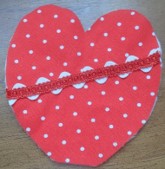
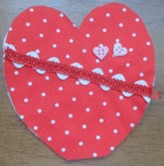
Pin hearts right side together and sew a ¼-inch seam all around, ending about two inches above the cut-off heart tip on one side. Clip curves and turn.
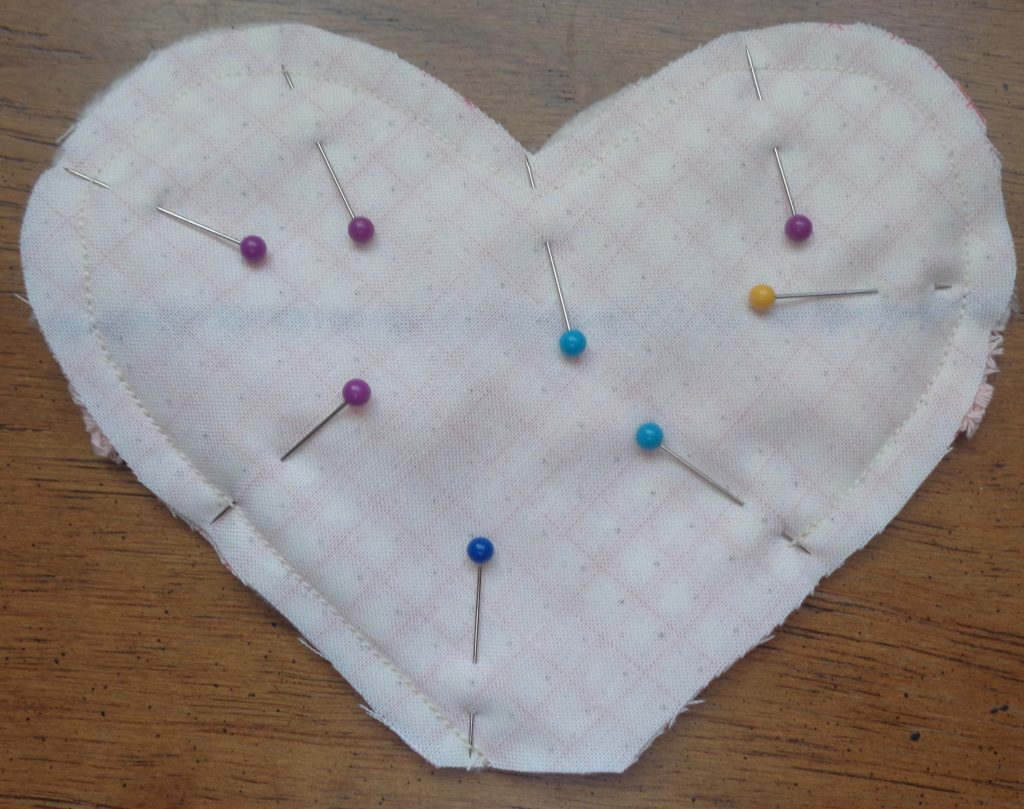
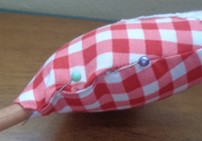
I thought this would be the tricky part, but it was really easy. Push some stuffing into the top parts of the heart, then in the “cleavage.” Insert dowel. Add more stuffing around the dowel. Pin the opening closed, turning under edges of cut-off end and ensuring the dowel extends straight down from the heart opening. Slipstitch closed. If you choose to cover the bottom with lace or ribbon, you don’t even need to worry about turning under the ends. I found the dowel so firmly enclosed, there wasn’t any need to use glue.
Cut a small strip of fabric to wrap around the spool. You can tear the fabric or use pinking shears. I have these fancy-schmancy scissors that make a scalloped edge so I couldn’t resist using them.
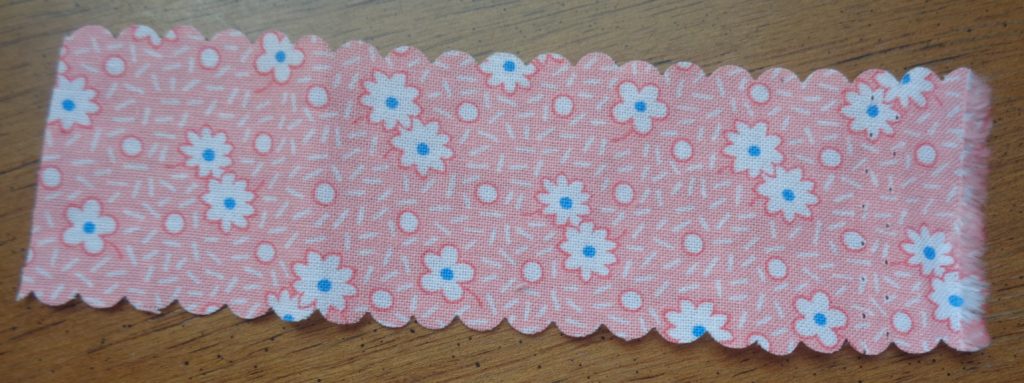
Now, for the fun part. I used a glue gun because it’s fast and easy. First, use a dab of glue to attach the fabric to the spool. Fancy it up as much as you like with ribbon, lace and/or buttons. Look! That pink heart says “Tea Party”—the perfect embellishment for me.
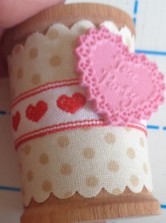
Glue the spool to your base. I turned one tea-light holder upside down because I liked that look more.
Squirt some glue into the hole of the spool making sure there’s a bit of glue near the top. My dowel was slightly smaller than the hole but the glue firmed it up. Be sure it’s straight when you insert the dowel with the heart into the glued hole.
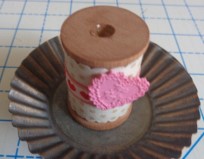
Tie a scrap of ribbon or lace above the spool.
Hooray! You’re done. The hearts look great on a shelf or added to a table arrangement.
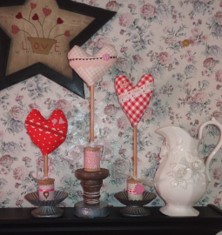

You can be as creative as you like. Leave the wood raw or paint it a color. Sew small fabric scraps together to make a quilted heart. Use any colors you like, who says your hearts have to be traditional Valentine colors? Tie ribbons or lace anywhere that needs a little decoration. Pour small candies or hearts in the trays of the tealight holders or decorate them too. Can you visualize your hearts sitting with your best China and crystal on an elegant tea table?
And that’s my first-ever blog craft project. So, how did I do? Easy directions? Maybe I should consider a new occupation? Or not? Post any comments, problems or questions and I’ll send you a prompt reply. I’d love to see your completed project. Happy Valentine’s Day!
